If you own a Canon PIXMA MG2500 series printer (or most Canon PIXMA models), you’ve likely encountered the frustrating combination of paper jams and that confusing “Adjust Paper Feed” message on your display. You’re not alone – this is one of the most common issues with home printers.
The good news? This problem usually has simple solutions you can implement yourself without technical expertise. In this guide, we’ll walk through exactly what that error message means and show you how to resolve it step by step.
What Does “Adjust Paper Feed” Really Mean?
When your Canon PIXMA displays “Adjust Paper Feed,” it’s telling you that the printer is having trouble consistently pulling paper through the printing mechanism. This isn’t referring to a software setting or complex configuration – it’s almost always a physical alignment or paper quality issue.
Step-by-Step Solution Guide
Step 1: Safety First – Power Down Completely
Before investigating any paper jam:
Turn off the printer using the power button.
Unplug it from the electrical outlet.
Wait 30 seconds before proceeding.
This prevents electrical hazards and allows the printer’s mechanical systems to reset.
Step 2: Clear Existing Paper Jams
Open the rear access cover and lift the scanner unit.
Visually inspect the entire paper path.
Gently but firmly pull any jammed paper in the direction of normal paper travel.
Check for and remove any torn paper fragments.
Look in both the output tray and feed area for obstructions.
Pro Tip: If the paper resists pulling, try accessing it from a different angle rather than forcing it, which can tear the paper and leave fragments behind.
Step 3: Actually, Adjust the Paper Feed (This Fixes Most Cases)
The “paper feed adjustment” refers to a physical component almost all users overlook:
Extend your paper tray completely.
Locate the blue or gray sliding guide on the right side.
Adjust this guide to fit snugly against your paper stack.
Ensure the guide isn’t so tight that it bends the paper, or so loose that paper can shift.
The paper guide should make contact with your paper stack without bending it.
Step 4: Paper Quality & Loading Best Practices
Often the problem isn’t your printer but the paper itself:
Don’t overfill – keep paper below the tray’s maximum fill line.
Use appropriate paper – avoid cardstock or specialty papers for general printing.
Check for imperfections – don’t use curled, torn, or damp paper.
Fan your paper – separate pages before loading to prevent sticking.
Ensure correct orientation – most Canon printers load with the printable side facing down.
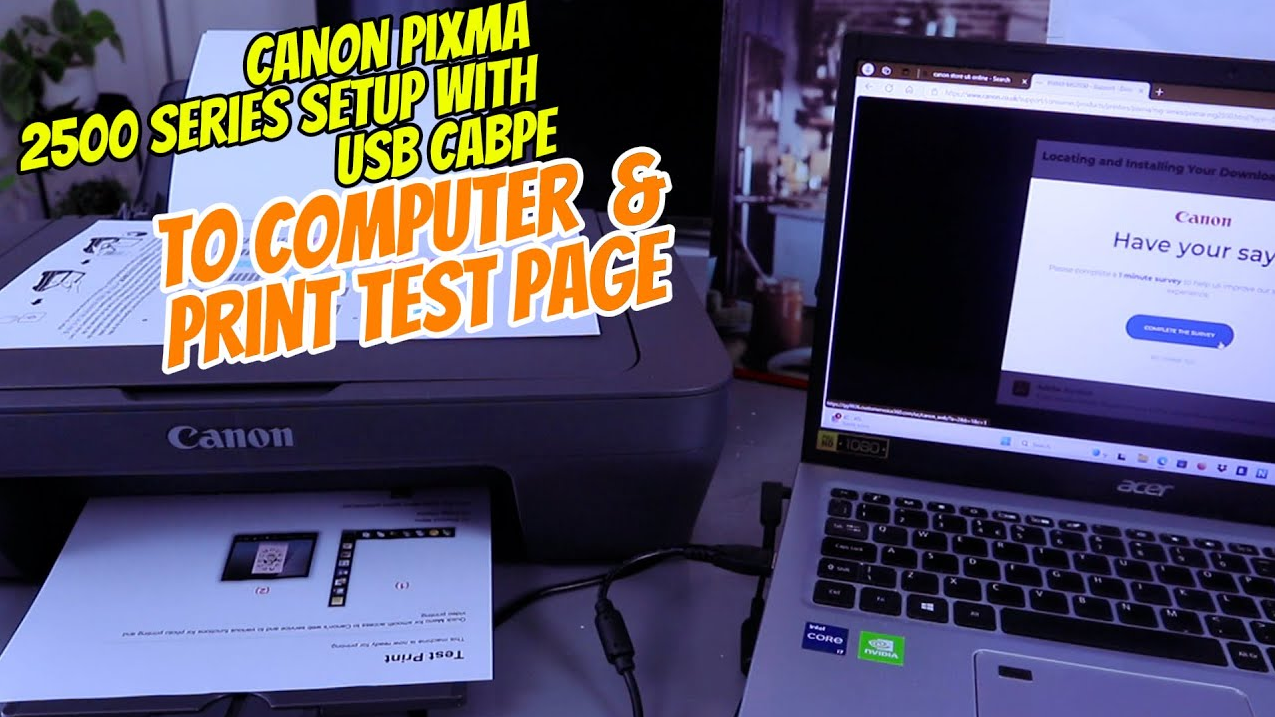
Step 5: Final Checks & Test Print
Plug in and power on your printer.
Listen for normal startup sounds (no grinding or unusual noises).
Load a small stack (10-15 sheets) of fresh, high-quality paper.
Print a simple test document.
Prevention: Keep Your Printer Jam-Free
Store paper in a cool, dry environment.
Clean your printer rollers periodically with a lint-free cloth.
Use your printer regularly rather than letting it sit for extended periods.
Always use the paper guide correctly – every time you load paper.
When to Seek Professional Help
If you’ve followed all these steps and still experience frequent jams:
There might be a small, hard-to-see paper fragment still lodged inside.
Your pickup rollers might be worn and need replacement.
There could be a more serious mechanical issue.
In these cases, contact Canon support or your local printer repair specialist.
The Bottom Line
That confusing “Adjust Paper Feed” message on your Canon PIXMA almost always points to simple physical adjustments rather than complex technical problems. By properly setting your paper guide, using quality paper, and following safe jam-clearing procedures, you can solve most paper feed issues yourself and get back to printing quickly.